Working with AWS Elastic File System (EFS) - Hands-On Lab


Overview
Amazon Elastic File System (Amazon EFS) provides a simple, serverless, set-and-forget elastic file system for use with AWS Cloud services and on-premises resources. It is built to scale on demand to petabytes without disrupting applications, growing and shrinking automatically as you add and remove files, eliminating the need to provision and manage capacity to accommodate growth. Amazon EFS has a simple web services interface that allows you to create and configure file systems quickly and easily. The service manages all the file storage infrastructure for you, meaning that you can avoid the complexity of deploying, patching, and maintaining complex file system configurations.
Amazon EFS supports the Network File System version 4 (NFSv4.1 and NFSv4.0) protocol, so the applications and tools that you use today work seamlessly with Amazon EFS. Multiple compute instances, including Amazon EC2, Amazon ECS, and AWS Lambda, can access an Amazon EFS file system at the same time, providing a common data source for workloads and applications running on more than one compute instance or server.
This Lab guides you on important concepts of EFS and directs you on how to create one. In the later half of the section, you would perform a use-case where you will see how the same File system can be mounted to multiple EC2 instances at the same time.
Duration: 1hr 15 minutes
AWS Region: US East (N. Virginia) us-east-1
What Will You Learn?
By the end of this lab, you will be able to:
Understand a clear concept of what EFS is
Create file systems
Mounting the file systems to multiple EC2 instances at same time
Perform Read/write operations on file system from two separate instances
Prerequisites
This is a beginner level lab, however, in order to follow the next steps you should be able to:
Know what EC2 instances are
Role of security groups in an EC2 instance
Lab Steps
Task 1: Launching Lab
Click on Start Lab to generate credentials for AWS, it will start the lab.
Once the Lab is started, you will be provided with IAM Username, Password, & Login URL.
Click on the open console, AWS Management Console will open in a new tab.
In the AWS sign in page, the Account ID will be present by default.
Leave the Account ID as default. Do not remove or change the Account ID otherwise you cannot proceed with the lab.
Use the same IAM Username and Password into AWS Console that is generated on your QwikSkills dashboard. Click on Sign in to log into the AWS Console.
Task 2: Creating Security Group for File System
After starting any labs validate the region, your region should be US East (N. Virginia), otherwise you will not be able to create any resources is any other region.
QwikSkills has already created two instances in different Availability Zones and the security group attached to those instances is same.

You just need to copy paste the security group ID of any of those instances and keep it aside.
To do that, Go to EC2 by clicking on Services menu on top, and then go to Instances and select any instance. Go to Security and copy the Security Group ID

- From left-pane menu, click on Security Groups.
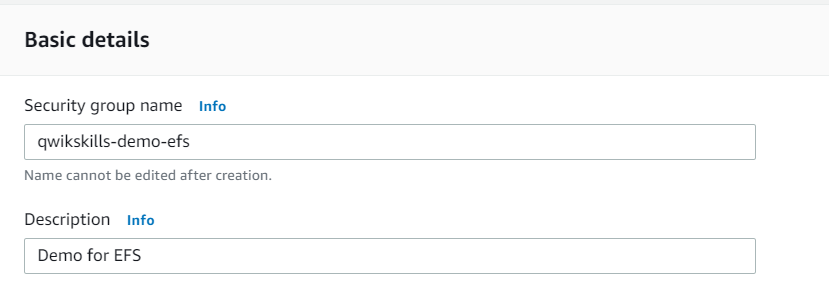
- Click on Create Security Group and provide name and description of your choice to the security group
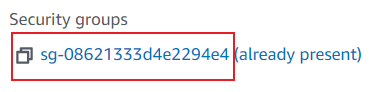
- Click on Add rule under Inbound rules and choose the type as NFS and security group ID you copied earlier and hit Create Security group

Task 3: Creating File System in EFS (Elastic File System)
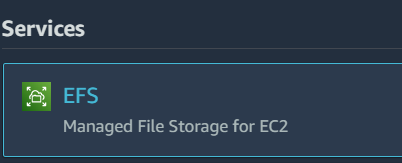
- Go to EFS by clicking on Services menu on top, and then hit Create file system

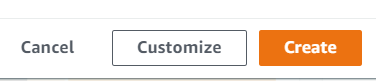
- Click on Customize
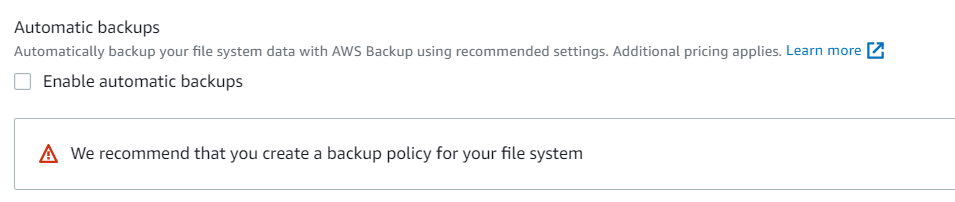
- Uncheck the Automatic backups box to avoid incurring extra cost
- Uncheck the Encryption box and hit Next

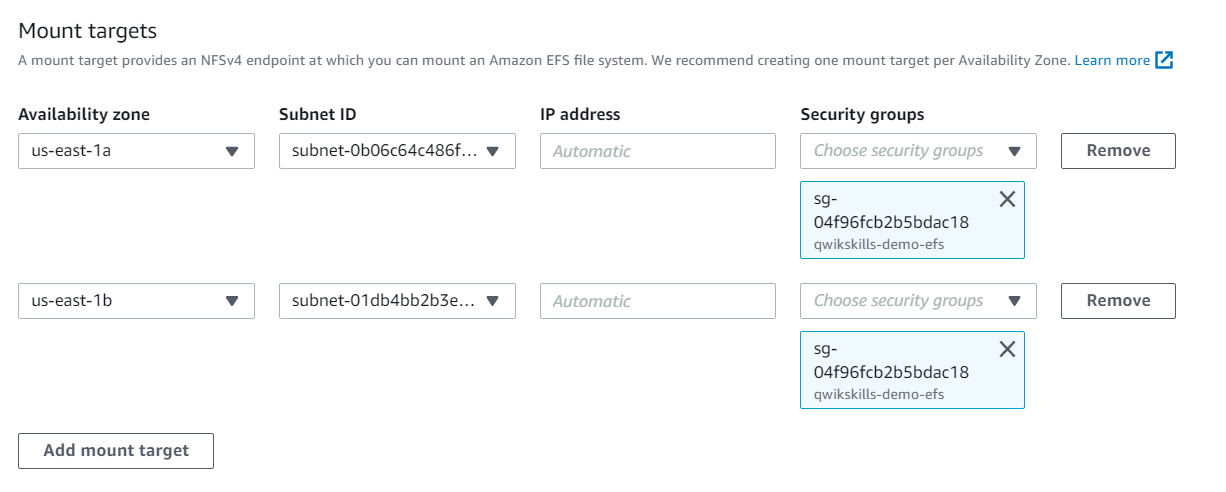
Since we have created the instances in only us-east-1a and us-east-1b, so there is no need for mount targets in other availability zones. Therefore, you can just hit Remove if any Mount targets are shown for AZs other than us-east-1a and us-east-1b
By default, mount targets are attached to default Security groups. But, we need to attach them to security group that we created in last task. So just update the security groups for both the mount targets in us-east-1a and us-east-1b as shown below.
- Hit Next --> Next --> Create
Task 4: Mounting File System to First Instance
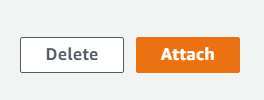
- Click on the File system created in last task, hit Attach and copy the command "Using the NFS Client"

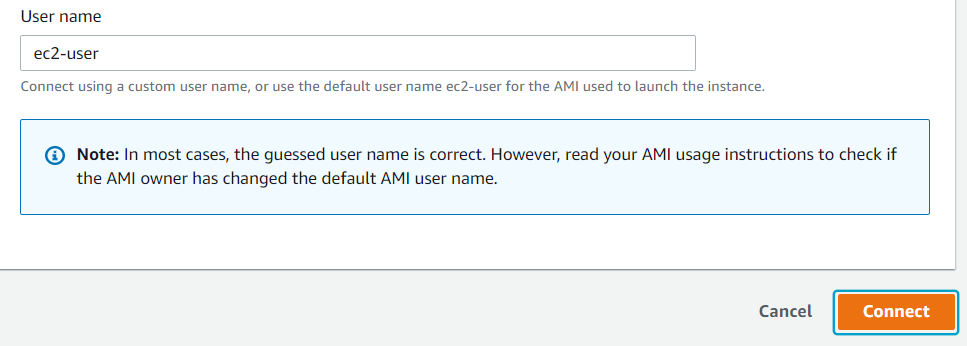
- Now, go to Instances from left-pane menu and click on first instance. Hit Connect to connect to EC2 instance.

- Type the following command in the console of the instance
$ mkdir efs
- Now copy paste the command for the NFS client that you copied earlier

- Now run the following command to check the size of efs folder
$ cd efs
$ du -h
You will notice it will be somewhere around 4k

- Now let's download a file from internet to this folder using the following command
$ wget https://docs.aws.amazon.com/AWSEC2/latest/UserGuide/AmazonEFS.html

Again do and you will notice that the size of the directory has increased
$ du -h

Do not close the tab/terminal for this instance as we require it in the next task.
Task 5: Mounting File System to Second Instance
Connect to the second instance as directed in previous task.
Copy paste the NFS Client command that you had copied to mount the file system

- Now, you have mounted the same file system to two separate instances. You can work together on that file system from both of these instances. To demo the same, enter into the "efs" directory created in the previous task and check the space by doing
$ cd efs
$ du -h
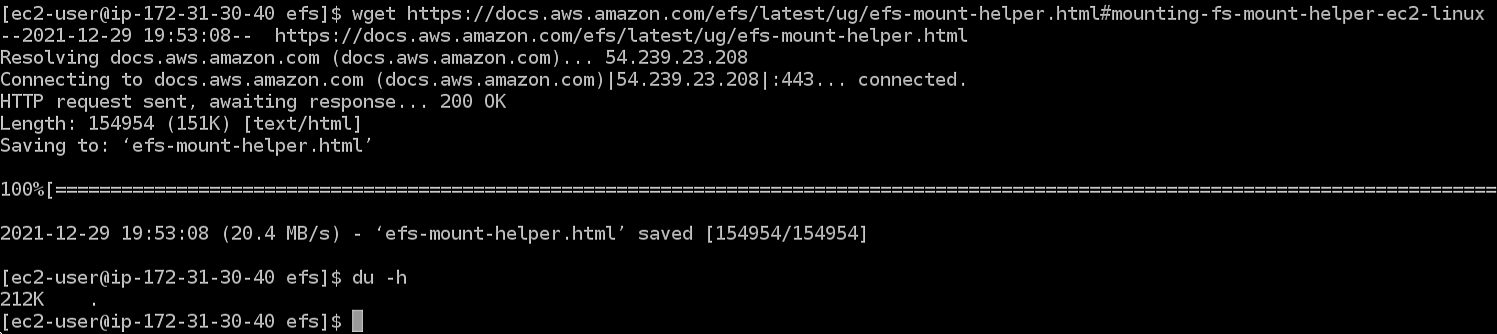
- You can download one more file from this instance into the file system and check the storage in the "efs" directory from both the instances.
$ wget https://docs.aws.amazon.com/efs/latest/ug/efs-mount-helper.html#mounting-fs-mount-helper-ec2-linux
$ du -h
- Now go to previous instance, and do
$ du -h
You will notice that it shows updated directory size from this instance as well.
Conclusion
In this lab, we understood the concept of Elastic File System and did hands-on File system creation. We also implemented a use-case where we mounted the same file system on two separate instances and then performed read/write operations on the file system from both the instances and observed the changes.
Lab Completion
You have successfully created a File system in EFS
You have mounted the file system on both instances provided by QwikSkills
You performed read/write operations on the file system from both instances
Lab Ending
Terminate both instances
Delete File system
Delete Security Group
Sign out of AWS account