


Table of contents


No headings in the article.
Overview
This lab introduces the basics of Elastic Load Balancing and Auto Scaling in Amazon Web Services. Elastic Load Balancing (ELB) is a load-balancing service for Amazon Web Services (AWS) deployments. ELB automatically distributes incoming application traffic and scales resources to meet traffic demands. ELB helps an IT team adjust capacity according to incoming application and network traffic.
Amazon EC2 Auto Scaling helps you ensure that you have the correct number of Amazon EC2 instances available to handle the load for your application. You create collections of EC2 instances, called Auto Scaling groups. You can specify the minimum number of instances in each Auto Scaling group, and Amazon EC2 Auto Scaling ensures that your group never goes below this size. You can specify the maximum number of instances in each Auto Scaling group, and Amazon EC2 Auto Scaling ensures that your group never goes above this size. If you specify the desired capacity, either when you create the group or at any time after that, Amazon EC2 Auto Scaling ensures that your group has this many instances. If you specify scaling policies, then Amazon EC2 Auto Scaling can launch or terminate instances as demand on your application increases or decreases.
For example, the following Auto Scaling group has a minimum size of one instance, a desired capacity of two instances, and a maximum size of four instances. The scaling policies that you define adjust the number of instances, within your minimum and maximum number of instances, based on the criteria that you specify.
This Lab guides you on how to create Auto Scaling groups and Network Load Balancer and understand a related use case.
Duration: 1hr 45 minutes
AWS Region: US East (N. Virginia) us-east-1
What Will You Learn?
Upon completion of this lab you will be able to:
Understanding concepts of Elastic Load Balancing and Auto Scaling
Learn how to create a Network Load Balancer
Understand and build Launch Templates
Create Auto Scaling Groups using Launch templates
Perform testing of ASGs and NLBs by generating excessive load on an instance
Lab Prerequisites
Although this is a beginner level lab, you should be familiar with AWS basics including:
Using the AWS Management Console
Know the basics of Security Groups
Lab Steps
Task 1: Launching Lab
Click on Start Lab to generate credentials for AWS, it will start the lab.
Once the Lab is started, you will be provided with IAM Username, Password, & Login URL.
Click on the open console, AWS Management Console will open in a new tab.
In the AWS sign in page, the Account ID will be present by default.
Leave the Account ID as default. Do not remove or change the Account ID otherwise you cannot proceed with the lab.
Use the same IAM Username and Password into AWS Console that is generated on your QuikSkills dashboard. Click on Sign in to log into the AWS Console.
Task 2: Understand Elastic Load Balancing and Auto Scaling
Elastic Load Balancing automatically distributes your incoming traffic across multiple targets, such as EC2 instances, containers, and IP addresses, in one or more Availability Zones. It monitors the health of its registered targets, and routes traffic only to the healthy targets. Elastic Load Balancing scales your load balancer as your incoming traffic changes over time. It can automatically scale to the vast majority of workloads.
Elastic Load Balancing supports the following load balancers: Application Load Balancers, Network Load Balancers, Gateway Load Balancers, and Classic Load Balancers.
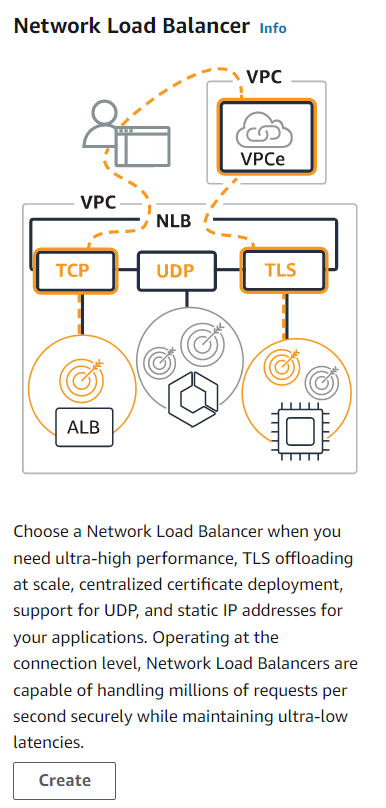
A Network Load Balancer functions at the fourth layer of the Open Systems Interconnection (OSI) model. It can handle millions of requests per second. After the load balancer receives a connection request, it selects a target from the target group for the default rule. It attempts to open a TCP connection to the selected target on the port specified in the listener configuration.
When you enable an Availability Zone for the load balancer, Elastic Load Balancing creates a load balancer node in the Availability Zone. By default, each load balancer node distributes traffic across the registered targets in its Availability Zone only. If you enable cross-zone load balancing, each load balancer node distributes traffic across the registered targets in all enabled Availability Zones.
If you enable multiple Availability Zones for your load balancer and ensure that each target group has at least one target in each enabled Availability Zone, this increases the fault tolerance of your applications. For example, if one or more target groups does not have a healthy target in an Availability Zone, we remove the IP address for the corresponding subnet from DNS, but the load balancer nodes in the other Availability Zones are still available to route traffic. If a client doesn't honor the time-to-live (TTL) and sends requests to the IP address after it is removed from DNS, the requests fail.
For TCP traffic, the load balancer selects a target using a flow hash algorithm based on the protocol, source IP address, source port, destination IP address, destination port, and TCP sequence number. The TCP connections from a client have different source ports and sequence numbers, and can be routed to different targets. Individual TCP connection is routed to a single target for the life of the connection.
For UDP traffic, the load balancer selects a target using a flow hash algorithm based on the protocol, source IP address, source port, destination IP address, and destination port. A UDP flow has the same source and destination, so it is consistently routed to a single target throughout its lifetime. Different UDP flows have different source IP addresses and ports, so they can be routed to different targets.
Elastic Load Balancing creates a network interface for each Availability Zone you enable. Each load balancer node in the Availability Zone uses this network interface to get a static IP address. When you create an Internet-facing load balancer, you can optionally associate one Elastic IP address per subnet.
When you create a target group, you specify its target type, which determines how you register targets. For example, you can register instance IDs, IP addresses, or an Application Load Balancer. If you register targets by instance ID, the source IP addresses of the clients are preserved and provided to your applications. If you register targets by IP address, the source IP addresses are the private IP addresses of the load balancer nodes. If you register an Application Load Balancer as a target, the source IP addresses of the clients are preserved and provided to your applications.
You can add and remove targets from your load balancer as your needs change, without disrupting the overall flow of requests to your application. Elastic Load Balancing scales your load balancer as traffic to your application changes over time. Elastic Load Balancing can scale to the vast majority of workloads automatically.
You can configure health checks, which are used to monitor the health of the registered targets so that the load balancer can send requests only to the healthy targets.
AWS Auto Scaling monitors your applications and automatically adjusts capacity to maintain steady, predictable performance at the lowest possible cost. Using AWS Auto Scaling, it’s easy to setup application scaling for multiple resources across multiple services in minutes.
Amazon EC2 Auto Scaling enables you to follow the demand curve for your applications closely, reducing the need to provision Amazon EC2 capacity in advance manually. For example, you can use target tracking scaling policies to select a load metric for your application, such as CPU utilization. Or, you could set a target value using the new “Request Count Per Target” metric from Application Load Balancer, a load balancing option for the Elastic Load Balancing service. Amazon EC2 Auto Scaling will then automatically adjust the number of EC2 instances as needed to maintain your target.
Task 3: Create Network Load Balancer
After starting any labs validate the region, your region should be US East (N. Virginia)*, otherwise you will not be able to create any resources is any other region.*
Go to EC2 by clicking on Services menu in top, then click on Load Balancers in the left-pane menu.
- Click on Create Load Balancer and then click on Create for Network Load Balancer.
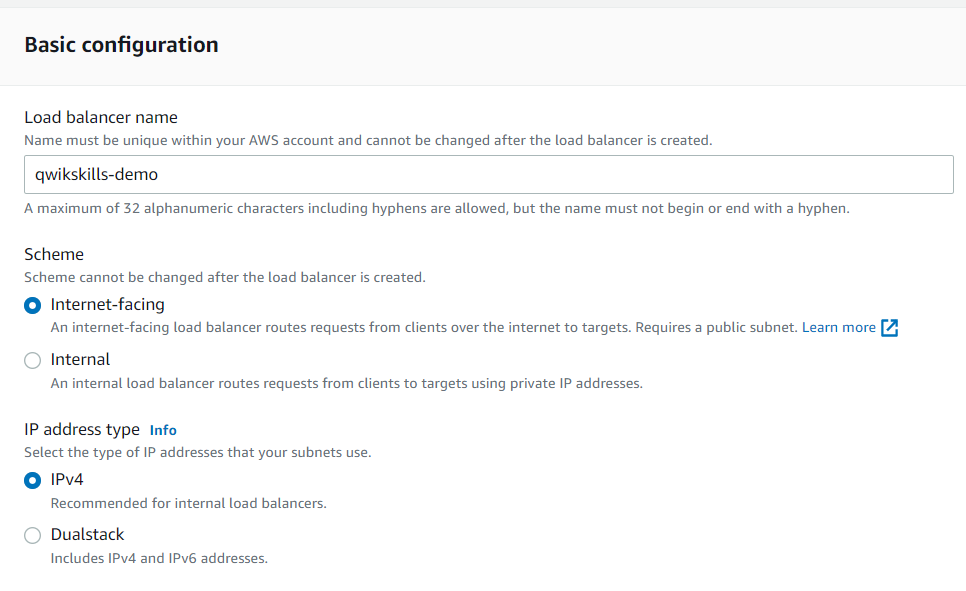
- Now provide the name of load balancer (A maximum of 32 alphanumeric characters including hyphens are allowed, but the name must not begin or end with a hyphen) and leave Scheme and IP Address Type as default.
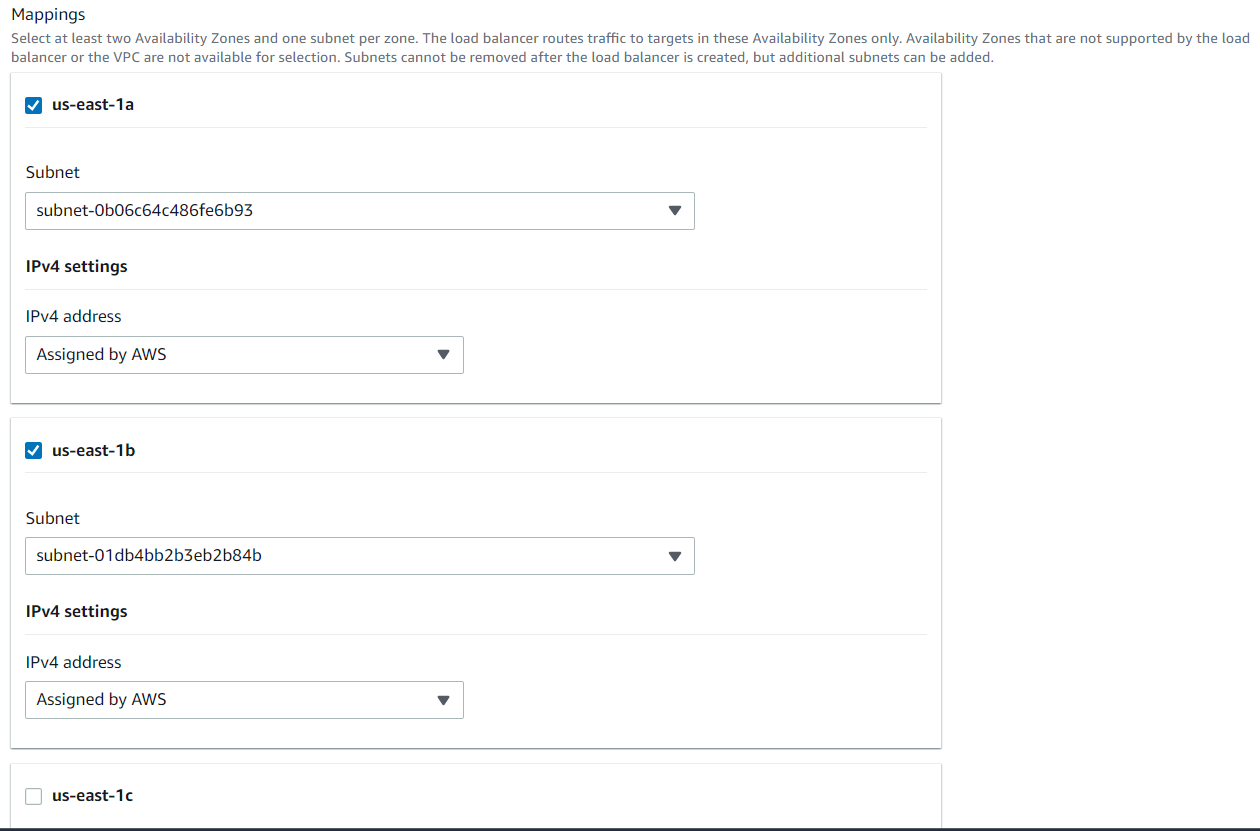
- Choose us-east-1a and us-east-1b in Mappings under Network Mappings.
- Scroll down to Listeners and routing and click on Create Target Group which will open a new tab.
Each target group is used to route requests to one or more registered targets. When you create a listener, you specify a target group for its default action. Traffic is forwarded to the target group specified in the listener rule. You can create different target groups for different types of requests. For example, create one target group for general requests and other target groups for requests to the microservice for your application.
- In this form, choose Target type as Instances*, provide a name of your choice to **Target group name*. Leave rest of the settings as default but go through each one of them before clicking on *Next and click on Create Target Group**.*


- Now go back to the previous tab where you were configuring Network Load Balancer and hit on refresh icon and select the target group from the drop-down menu.

- Scroll down to the end and click on Create Load Balancer.

- Click on Actions and then click on Edit attributes
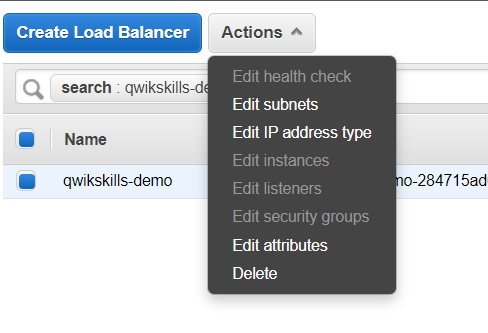
- Set the Cross-Zone Load Balancing (This feature allows Network Load Balancer to route incoming requests to applications that are deployed across multiple Availability Zones)as enabled and click on Save

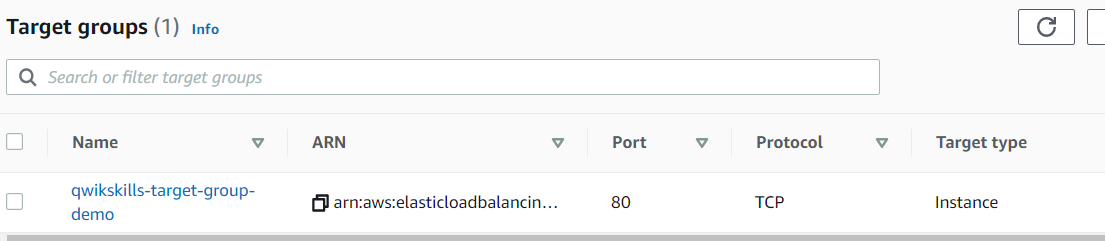
- Now go to Target Groups on the left-pane and click on the target group present. Now, go to Attributes and click on Edit.

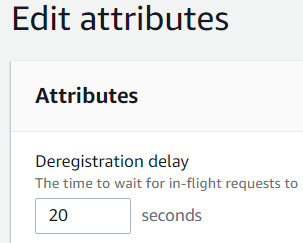
- Make the Deregistration delay to 20 seconds and hit Save changes (Elastic Load Balancing stops sending requests to targets that are deregistering. By default, Elastic Load Balancing waits 300 seconds before completing the de-registration process, which can help in-flight requests to the target to complete)
Task 4: Create Launch Template
With launch templates, you can configure the Auto Scaling group to choose dynamically either the default version or the latest version of the launch template when a scale-out event occurs. For example, you configure your Auto Scaling group to choose the current default version of a launch template. To change the configuration of the EC2 instances to be launched by the group, create or designate a new default version of the launch template. Alternatively, you can choose the specific version of the launch template that the group uses to launch EC2 instances. You can change these selections any-time by updating the group. Each launch template includes the information that Amazon EC2 needs to launch instances, such as an AMI and instance type. You can create an Auto Scaling group that adheres to the launch template. Or, you can override the instance type in the launch template and combine On-Demand and Spot Instances.
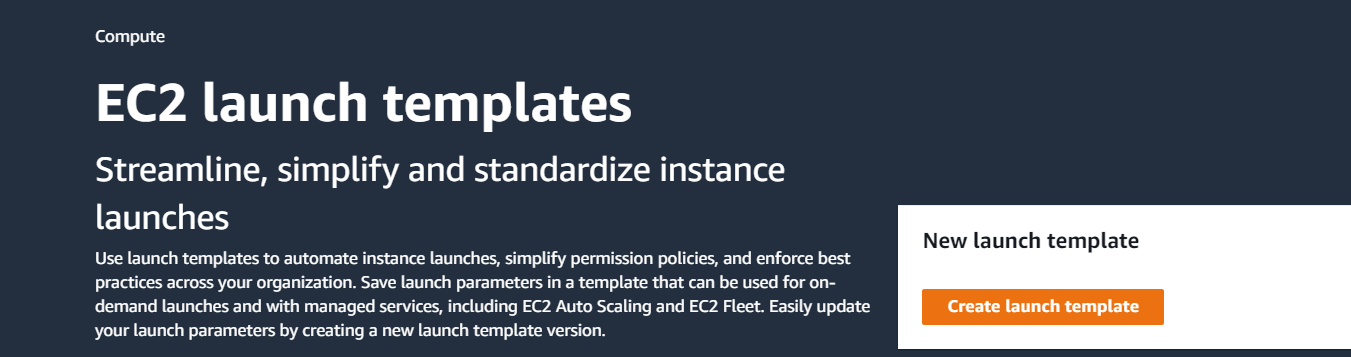
Go to EC2 by clicking on Services menu in top, then click on Launch Templates in the left-pane menu.
Click on Create launch template
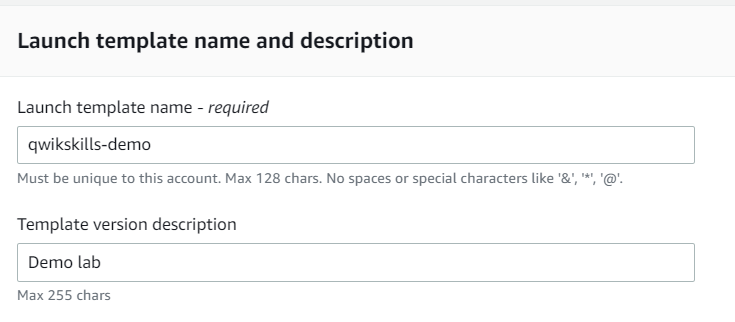
- Provide the template name of your choice and description (optional)
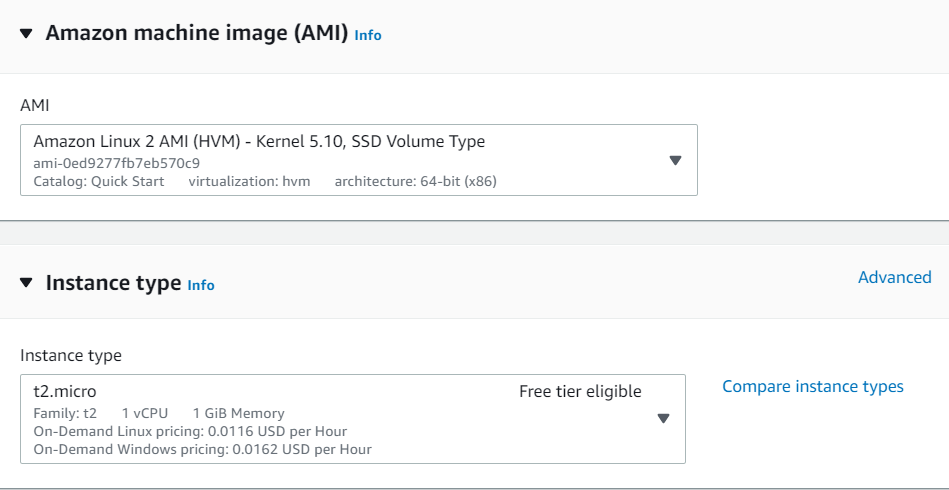
- Scroll down and go to Quick Start to provide Amazon machine image (AMI) as Amazon Linux 2 AMI (HVM) - Kernel 5.10, SSD Volume (x86) and Instance type as t2.micro

- Now before we choose any Security group in Network Settings, we need to create one. To do so, scroll down to go to Network Settings 🡪 Firewall and hit Create Security Group

- Provide Security group name, Description and add Inbound rule by clicking on Add rule with type as SSH (TCP port 22) and source as 0.0.0.0/0 as shown below

- Add another rule by clicking on Add rule with type as HTTP (port 80) and source as 0.0.0.0/0 as shown below

- In the Advanced details sections, scroll down to extreme bottom to User data textbox, and enter the following script to enable the epel-release and install and start Apache web-server
#!/bin/bash
sudo amazon-linux-extras install epel
sudo yum install -y httpd php
- Click on Create launch template
Task 5: Create ASG (Auto-Scaling Group) using launch template and checking Health Status
Go to EC2 by clicking on the Services menu on top, then click on Auto-Scaling Groups
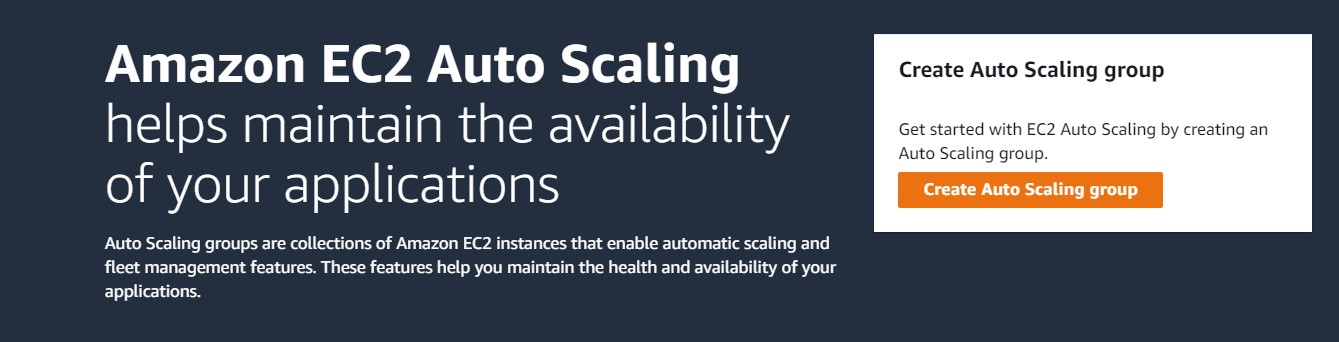
Hit Create Auto Scaling group
- Provide the name of your choice and choose the launch template created in the last task from the drop-down menu under Launch template and then hit Next

- In the Network section, default VPC would have been automatically chosen. In the Availability zones and subnets, choose us-east-1a and us-east-1b (Because in task 3, while creating Load balancer, we mentioned only us-east-1a and us-east-1b in Network Mappings). Leave the rest of the settings on this page as default and hit Next.

- In Instance type requirements, choose 2 vCPU and 2GiB in Memory for Maximum as shown below

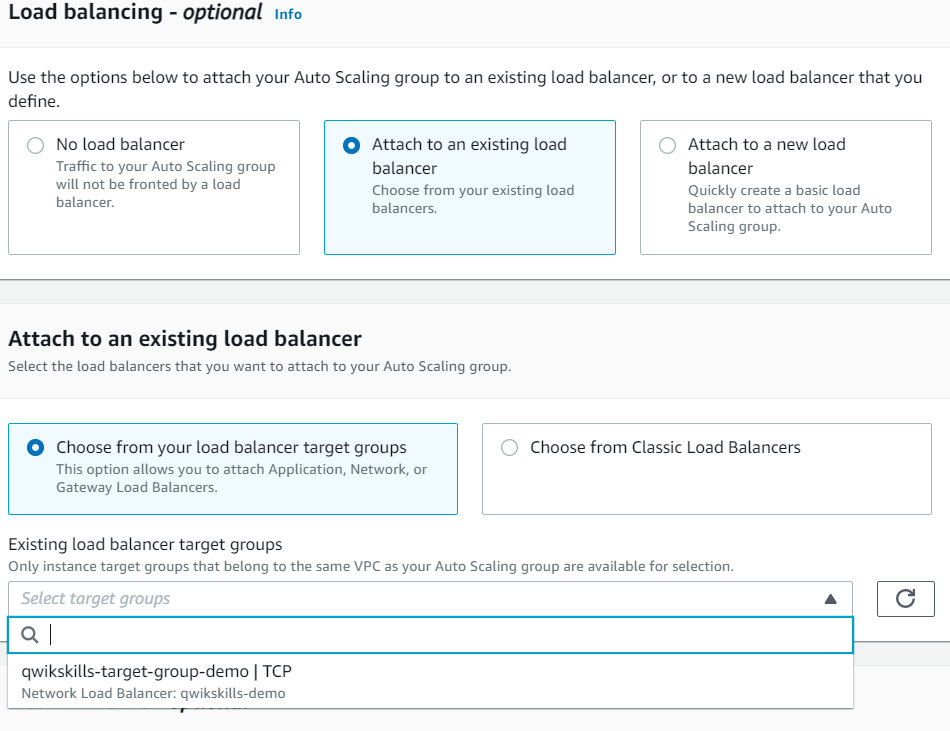
- In Load balancing section, choose Attach to an existing load balancer and then choose from your load balancer target groups and then select the target group that we created in Task 4. Click on Next.
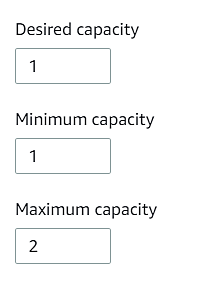
- Modify the Maximum capacity in Group size to 2
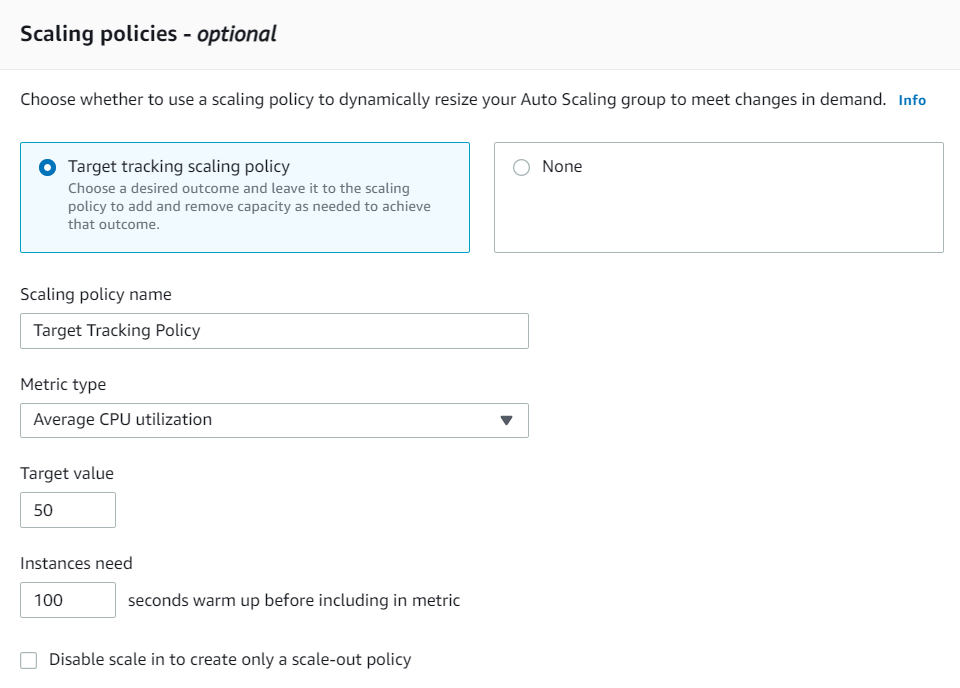
Under Scaling Policies, choose Target tracking scaling policy and update the Instances need seconds to 100 as shown below
- Click on Next and Next and Next. Hit Create Auto Scaling group

- You would see in the Auto Scaling group you created that it will launch an EC2 instance and will here show instances count as 0 initially since it would be be in the process of launch the instance, and in a very few seconds, instances count will be increased to 2

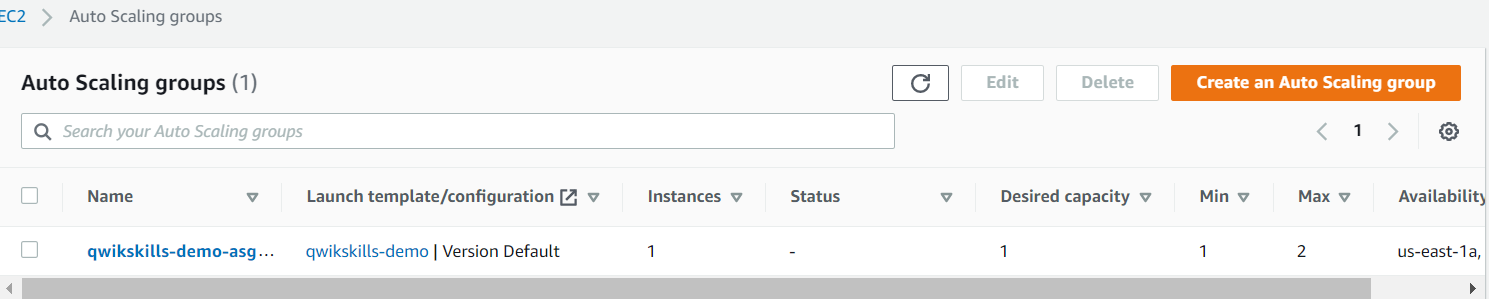
- If you go to EC2 instances, you would see an instance initializing/pending state which will soon turn into running state.


- Now go to Target Groups on the left-pane and click on target group that we created earlier and go to Targets. You would see that it will be showing the same instance that got created, and Health Status as initial. After, health checks are cleared, it will show healthy status as shown below


Task 6: Create Traffic on First Instance and check AutoScaling functionality
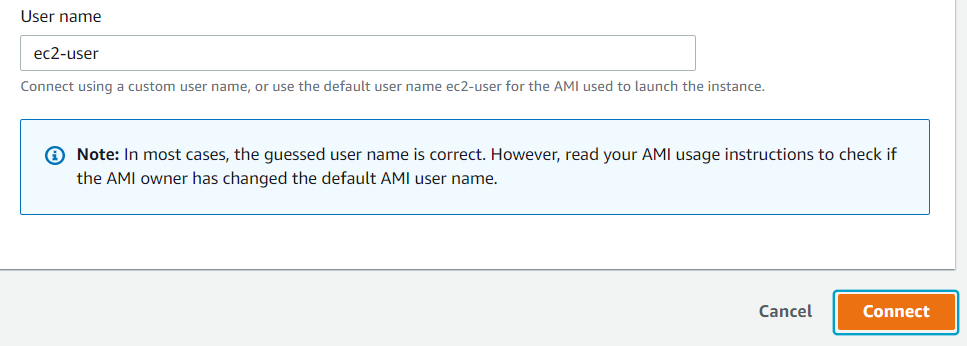
- Go to Instances from the left-pane and click on the instance that got created in the last task. Hit Connect to connect to EC2 instance.

- It would auto-fill the username and credentials. You just have to hit Connect as shown below
- Now, type in this command to generate load on CPU (It will generate nearly 100% load on CPUs) present.
$ yes > /dev/null &

- Wait a few seconds and then you can check the CPU utilization by typing the following command
$ top

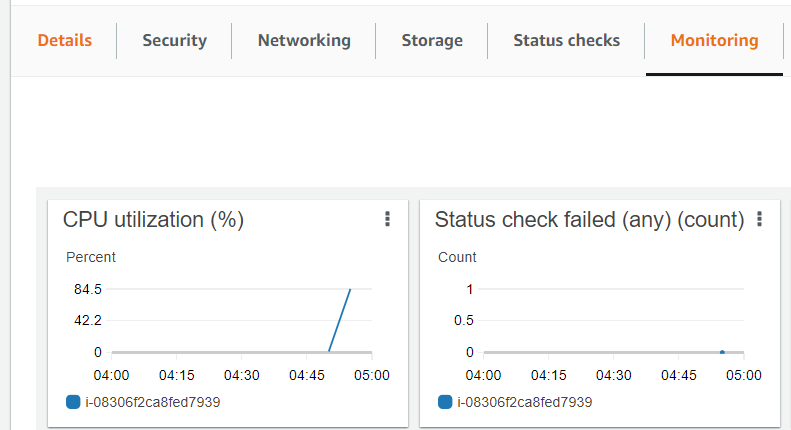
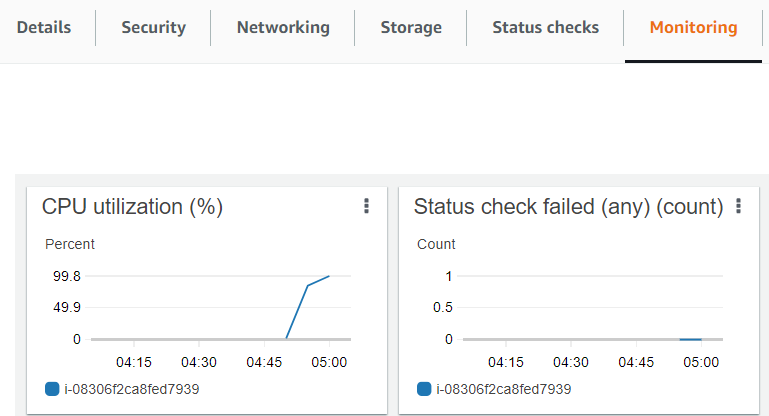
- You can also check the CPU utilization by clicking on the instance and clicking on the Monitoring tab as shown below. As you can see in the images below, utilization was initially around 84.5% and after a few seconds, jumped to 99.8%
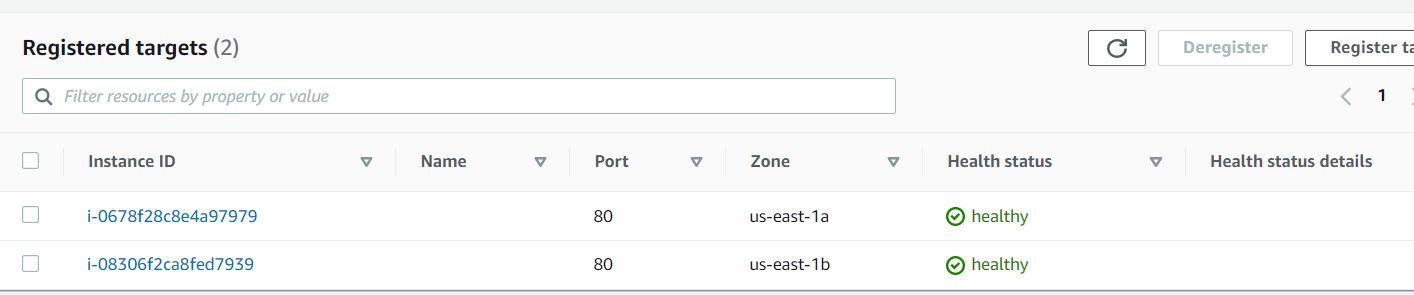
- Now, since the CPU utilization > 80%, the auto-scaling group will launch one more instance automatically. You can go to Instances and notice that there are 2 instances in your environment.

- You can also check the targets in Target Groups --> targets. There will be 2 targets now
Conclusion
In this lab, we understood the concept of Auto Scaling Groups and Elastic Load Balancing. We learned how to create Network Load Balancer, Target Groups, Launch Templates and Auto Scaling Groups. We also learned how can we leverage these concepts in our use-cases of dynamic scaling and reduce manual tasks to create/update underlying infrastructure.
Lab Completion
You have successfully created a Network Load Balancer
You have created a launch template and an Auto Scaling group using that template
You generated load on instance created by ASG and looked how it automatically launched another instance
Lab Ending
Delete Auto Scaling Group
Delete Launch template
Delete both EC2 instances
Delete Network Load Balancer
Delete Target Group
Delete Security Group
Sign out of AWS account