Understanding Virtual Private Cloud (VPC) and associated networking components - Hands-On Lab


Overview
Amazon Virtual Private Cloud (Amazon VPC) enables you to launch AWS resources into a virtual network that you've defined. This virtual network closely resembles a traditional network that you'd operate in your own data center, with the benefits of using the scalable infrastructure of AWS.
The following are the key concepts for VPCs:
Virtual private cloud (VPC) — A virtual network dedicated to your AWS account.
Subnet — A subnet is a range of IP addresses in your VPC. You can launch AWS resources, such as EC2 instances, into a specific subnet. When you create a subnet, you specify the IPv4 CIDR block for the subnet, which is a subset of the VPC CIDR block. Each subnet must reside entirely within one Availability Zone and cannot span zones. By launching instances in separate Availability Zones, you can protect your applications from the failure of a single zone.
Route table — A route table contains a set of rules, called routes, that are used to determine where network traffic from your subnet or gateway is directed.
Internet gateway — An internet gateway is a horizontally scaled, redundant, and highly available VPC component that allows communication between your VPC and the internet. An internet gateway serves two purposes: to provide a target in your VPC route tables for internet-routable traffic, and to perform network address translation (NAT) for instances that have been assigned public IPv4 addresses.
VPC endpoint — Enables you to privately connect your VPC to supported AWS services and VPC endpoint services powered by PrivateLink without requiring an internet gateway, NAT device, VPN connection, or AWS Direct Connect connection. Instances in your VPC do not require public IP addresses to communicate with resources in the service. Traffic between your VPC and the other service does not leave the Amazon network. For more information, see AWS PrivateLink and VPC endpoints.
- CIDR block —Classless Inter-Domain Routing. An internet protocol address allocation and route aggregation methodology.
When you create a VPC, you must specify a range of IPv4 addresses for the VPC in the form of a Classless Inter-Domain Routing (CIDR) block; for example, 10.0.0.0/16. This is the primary CIDR block for your VPC.
This Lab guides you on how to create Auto Scaling groups and Network Load Balancer and understand a related use case.
Duration: 1hr 15 minutes
AWS Region: US East (N. Virginia) us-east-1
What Will You Learn?
By the end of this lab, you will be able to:
Understand how to create a Virtual Private Cloud (VPC) in AWS
Understand how to create a subnet in that VPC
Know how to create an Internet Gateway and attach it to the VPC
Configure routing for your VPC using a route table
Launch an EC2 instance with the network configurations created and understand how ping works from outside
Prerequisites
You should be familiar with:
- AWS Management Console navigation
Lab Steps
Task 1: Launching Lab
Click on Start Lab to generate credentials for AWS, it will start the lab.
Once the Lab is started, you will be provided with IAM Username, Password, & Login URL.
Click on the open console, AWS Management Console will open in a new tab.
In the AWS sign in page, the Account ID will be present by default.
Leave the Account ID as default. Do not remove or change the Account ID otherwise you cannot proceed with the lab.
Use the same IAM Username and Password into AWS Console that is generated on your QuikSkills dashboard. Click on Sign in to log into the AWS Console.
Task 2: Create a VPC & a Subnet in that VPC
- After starting any labs validate the region, your region should be US East (N. Virginia), otherwise you will not be able to create any resources is any other region.
- Go to VPC by clicking on Services menu in top.
- Click on Your VPCs in the left-pane menu and you might see one default VPC already present as shown below. But we have to create a fresh VPC.

- Click on Create VPC

Select VPC Only in resources to create
Provide name of your choice to the VPC and put 10.0.0.0/24 as IPv4 CIDR block

- Leave rest of the settings as default and hit Create VPC
- Now go to Subnets from left-pane menu
- Click on Create Subnet

- Choose the VPC that you just created from the drop-down menu. It will automatically show the associated CIDRs with that chosen VPC

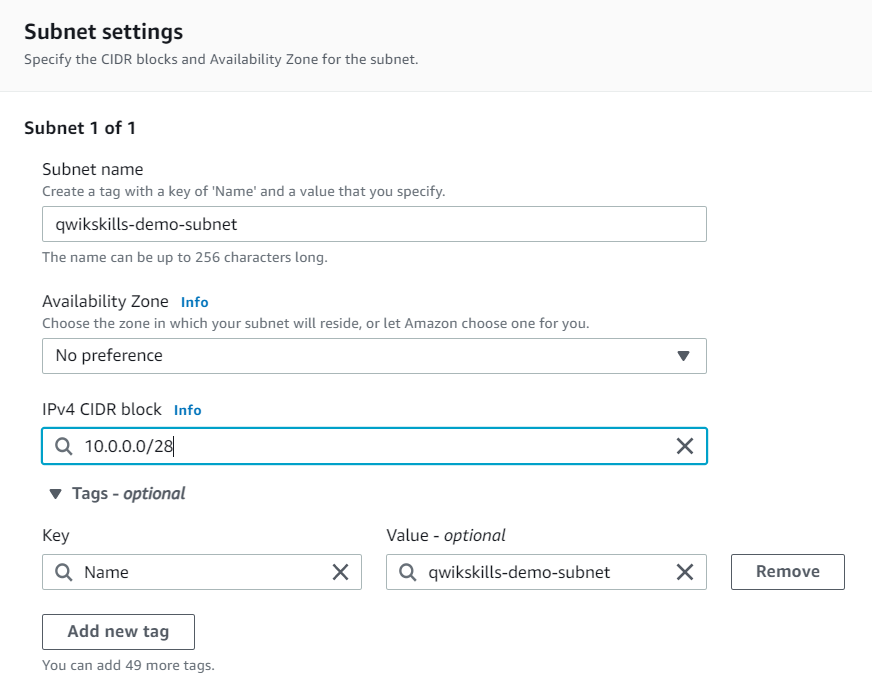
- Scroll down and give name to your subnet. Put 10.0.0.0/28 in IPv4 CIDR block. Leave the rest of the settings as default and hit Create Subnet
Task 3: Create an Internet Gateway and attach it to VPC
- Go to Internet Gateways from the left-pane menu

- Hit Create internet gateway

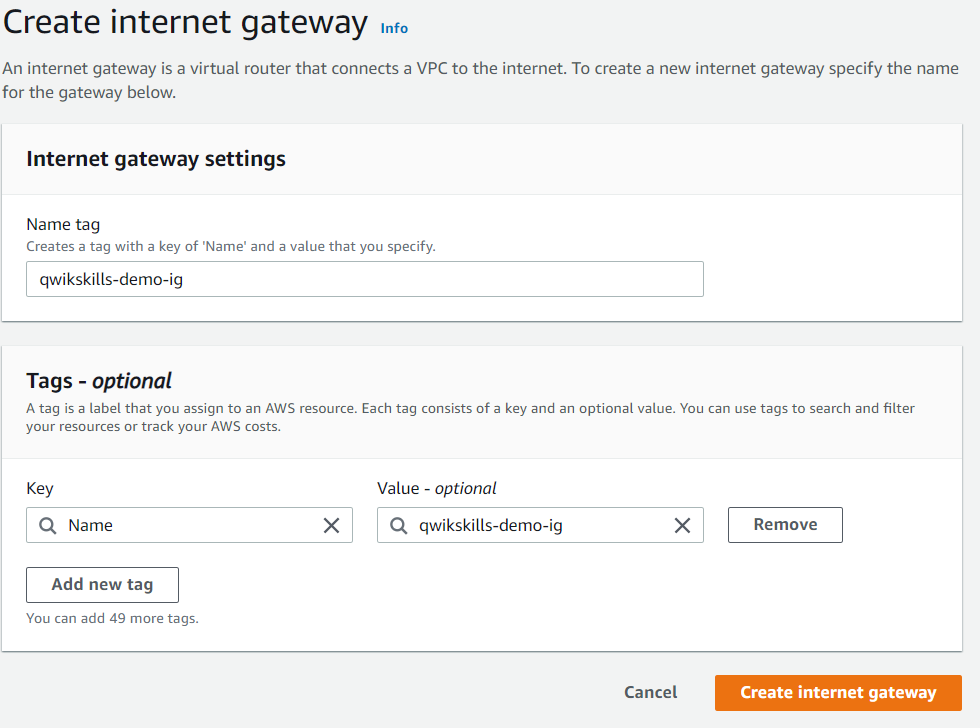
- Provide name of your choice to the internet gateway and click on Create internet gateway
- Once created, go to Actions --> Attach to VPC
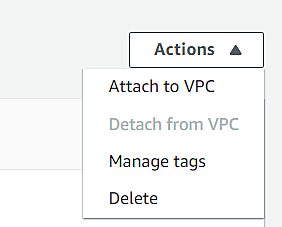
- Select the VPC created in previous task from the drop-down menu and hit Attach internet gateway

Task 4: Add Route to VPC Route table
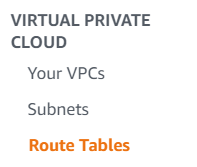
- Click on the Route Tables on the left-pane menu.
Click on the route table by looking at the VPC it is attached to by scrolling on the right or check for default route table in the details page of vpc created earlier
Click on the Routes and then hit Edit routes

- Click on Add route and put Destination as 0.0.0.0/0 and select the target as internet gateway that we created in the last task.

- Hit Save changes
Task 5: Launch instance with the Network configurations created
- Go to EC2 by clicking on Services menu in top, then click on Instances in the left-pane menu.

Under Name & Tags give name of ec2 instance as: qwikskills-demo-ec2
On the Application and OS Images (Amazon Machine Image) section, select Amazon Linux 2 AMI (HVM), SSD (x86) as Volume Type

Choose Instance type as t2.micro
Under Key Pair (login) section Select Proceed without a key pair

On Network Setting section, choose the VPC created in one of the previous tasks from drop-down menu (Subnet in that VPC would automatically be selected since we created only one subnet). In Auto-assign Public IP, choose Enable
For firewall (security groups), select Create security group option & add security groups rule as All ICMP and source as 0.0.0.0/0


- Leave rest of the configurations as default & click on Launch Instance

- Wait for a few seconds for instance be come in running state from pending state. After that, click on the instance and copy the Public IPv4 address of the instance.

- Open your local system's terminal/command prompt and execute the following command by replacing YourInstanceIPAddress with the public IP address you copied
$ ping <YourInstanceIPAddress>
user@INM1DRSDVS% ping 3.87.4.109
PING 3.87.4.109 (3.87.4.109): 56 data bytes
64 bytes from 3.87.4.109: icmp_seq=0 ttl=232 time=257.207 ms
64 bytes from 3.87.4.109: icmp_seq=1 ttl=232 time=255.510 ms
64 bytes from 3.87.4.109: icmp_seq=2 ttl=232 time=278.500 ms
64 bytes from 3.87.4.109: icmp_seq=3 ttl=232 time=257.255 ms
64 bytes from 3.87.4.109: icmp_seq=4 ttl=232 time=269.583 ms
64 bytes from 3.87.4.109: icmp_seq=5 ttl=232 time=285.348 ms
64 bytes from 3.87.4.109: icmp_seq=6 ttl=232 time=265.946 ms
64 bytes from 3.87.4.109: icmp_seq=7 ttl=232 time=260.845 ms
64 bytes from 3.87.4.109: icmp_seq=8 ttl=232 time=257.558 ms
64 bytes from 3.87.4.109: icmp_seq=9 ttl=232 time=255.914 ms
64 bytes from 3.87.4.109: icmp_seq=10 ttl=232 time=252.824 ms
64 bytes from 3.87.4.109: icmp_seq=11 ttl=232 time=253.402 ms
64 bytes from 3.87.4.109: icmp_seq=12 ttl=232 time=253.509 ms
64 bytes from 3.87.4.109: icmp_seq=13 ttl=232 time=266.511 ms
64 bytes from 3.87.4.109: icmp_seq=14 ttl=232 time=290.105 ms
64 bytes from 3.87.4.109: icmp_seq=15 ttl=232 time=252.841 ms
64 bytes from 3.87.4.109: icmp_seq=16 ttl=232 time=253.733 ms
64 bytes from 3.87.4.109: icmp_seq=17 ttl=232 time=252.736 ms
64 bytes from 3.87.4.109: icmp_seq=18 ttl=232 time=269.688 ms
64 bytes from 3.87.4.109: icmp_seq=19 ttl=232 time=267.150 ms
If you see a message as timed out instead of the above output, then we insist you to check all the steps once again. There could also be a possibility that there is some firewall set up on your system. Please check that.
Conclusion
In this lab, we understood the main networking concepts in AWS including VPC, Subnets, Internet Gateway, Routes and Route Tables. We implemented each component and also performed a use-case where we pinged public IP of an EC2 instance from our system's terminal. This was done by attaching internet gateway to the VPC, adding route to the subnet, launching the instance in that subnet, adding security group with ICMP traffic allowed from 0.0.0.0/0
Lab Completion
You have successfully created a VPC and a subnet in that VPC
You have created an Internet Gateway and attached it to the VPC created
You added routes to Route tables
You launched an EC2 instance with the network components created
You pinged public IP of the instance from local system
Lab Ending
Terminate EC2 instance
Delete Security Group that got created while instance creation
Delete Subnet
Delete VPC
Delete Internet Gateway
Sign out of AWS account